
Note
If you don’t see Copilot in Word, Excel, PowerPoint, or OneNote, it might not be included with your Microsoft 365 subscription or available based on your organization’s settings. Learn which Copilot license you have.
Microsoft 365 administrators can upload and deploy custom skills for use with Copilot in PowerPoint. You can make a skill available to everyone in your organization or to specific users and groups.
Upload and deploy a custom skill for your organization
Sign in to the Microsoft 365 admin center.
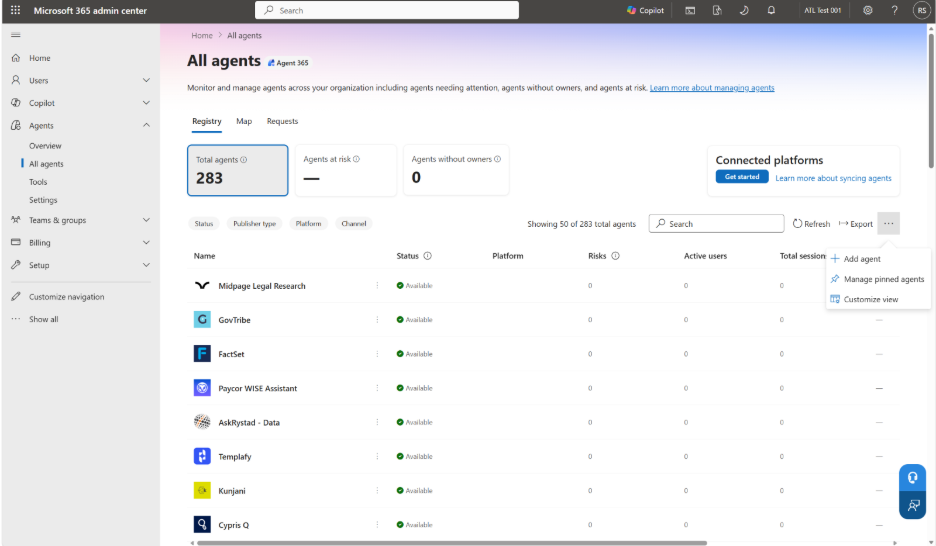
In the left navigation pane, select Agents > All agents. Select the More actions (...) menu, and then select Add agent.
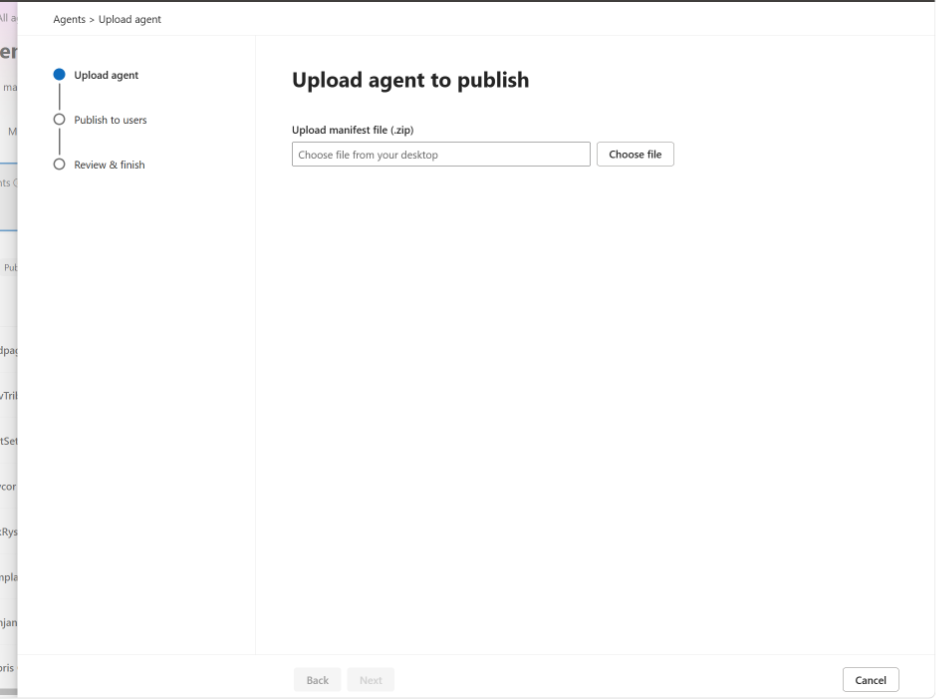
On the Upload agent to publish page, select Choose file, and then upload the skill package (.zip).
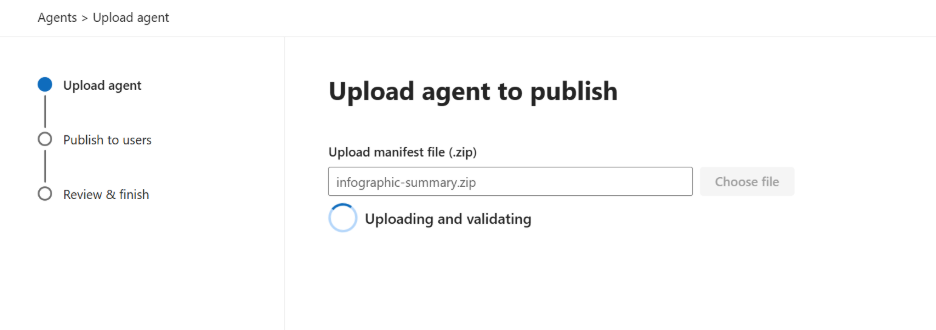
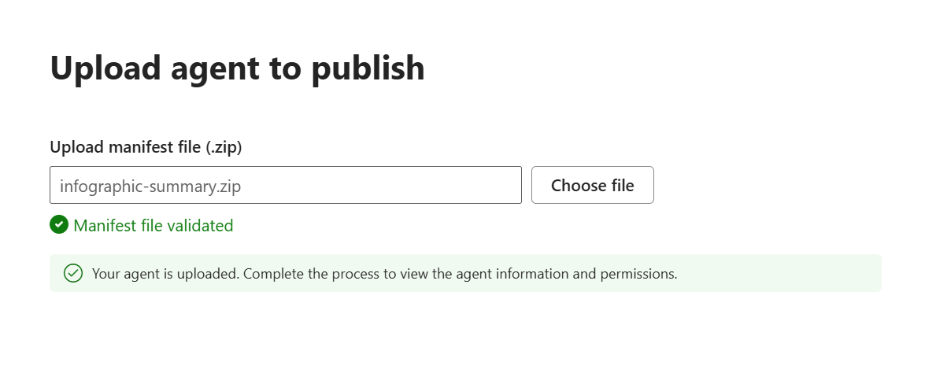
Review the validation results. If validation fails, correct the package structure or manifest, and then upload the package again. For requirements, see Package a custom skill for deployment later in this article.
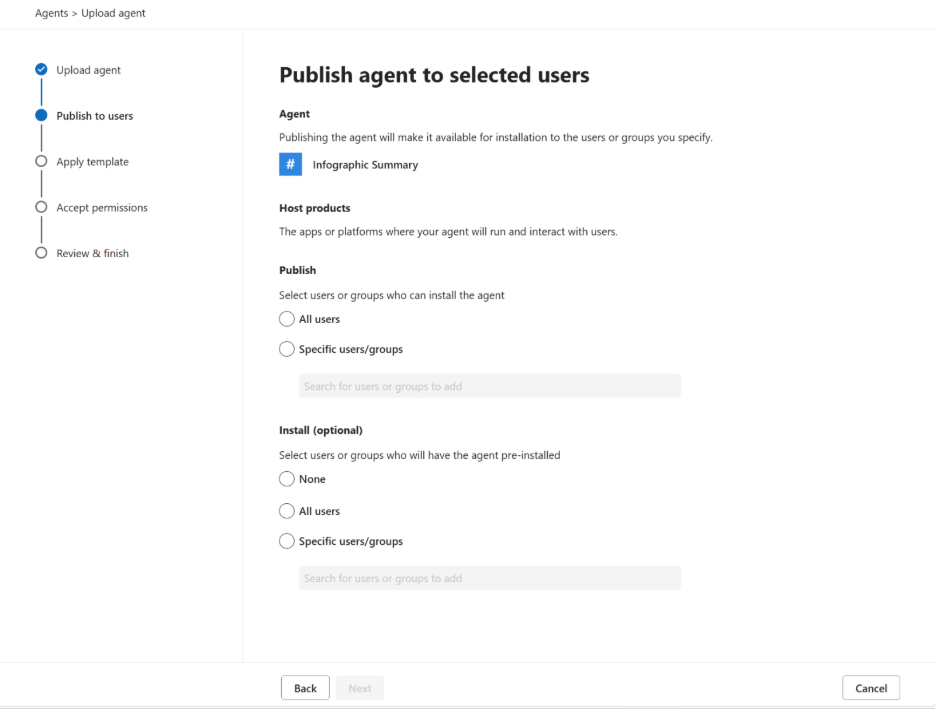
Choose who can use the skill. Select all users or specific users and groups, configure the available deployment options, and then complete the publishing flow.
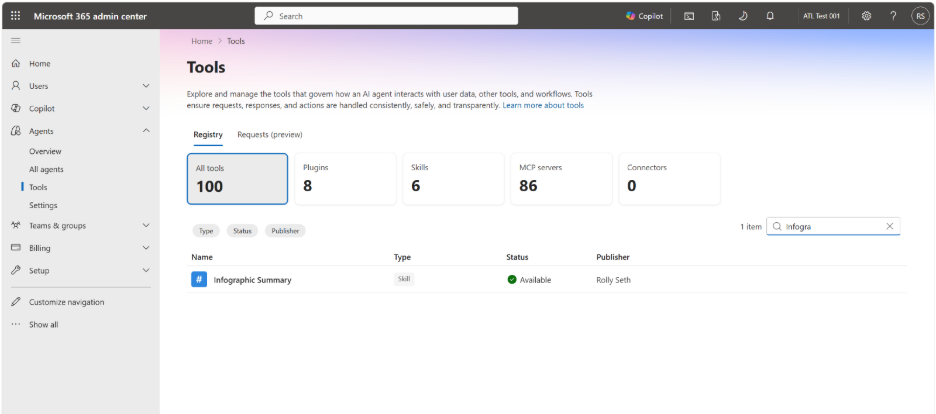
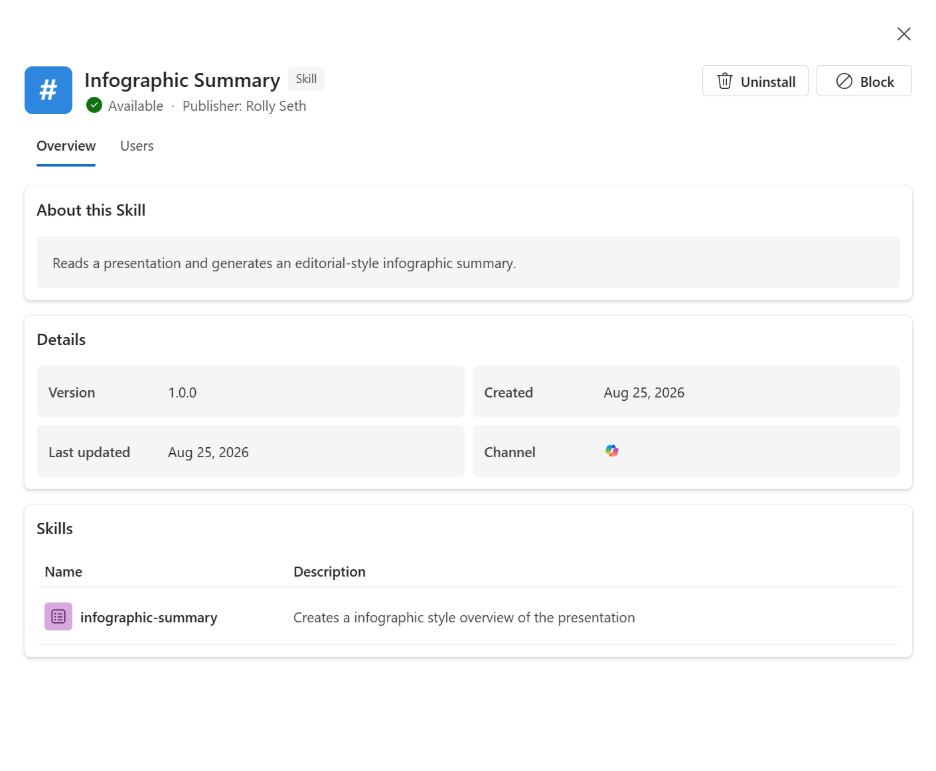
To verify the deployment, go to Agents > Tools in the Microsoft 365 admin center. Select the skill to review its details, users, version, and deployment status.
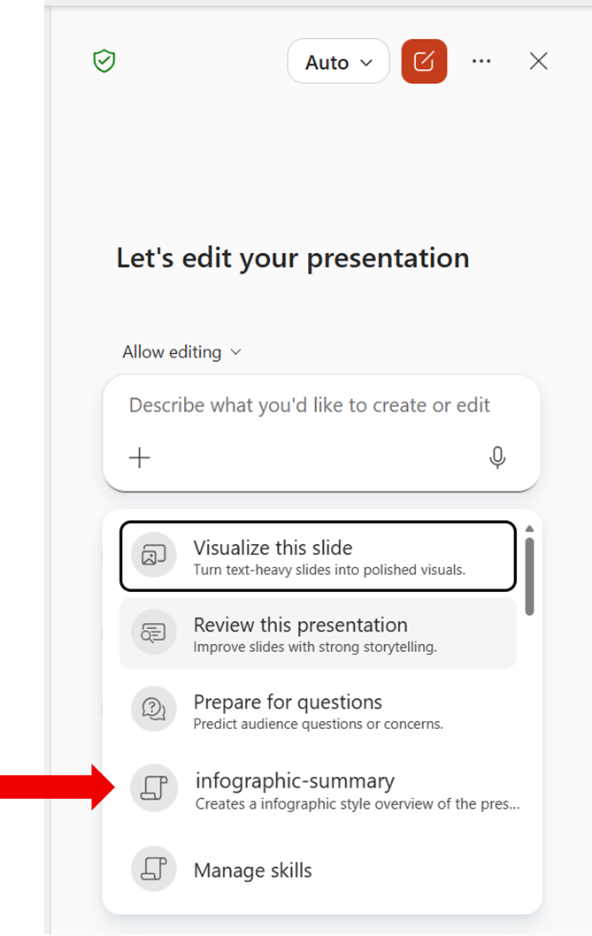
After the skill is published and installed, open PowerPoint with an account included in the deployment. Open the Copilot chat pane, select the + menu in the prompt box, and then select Choose skills.
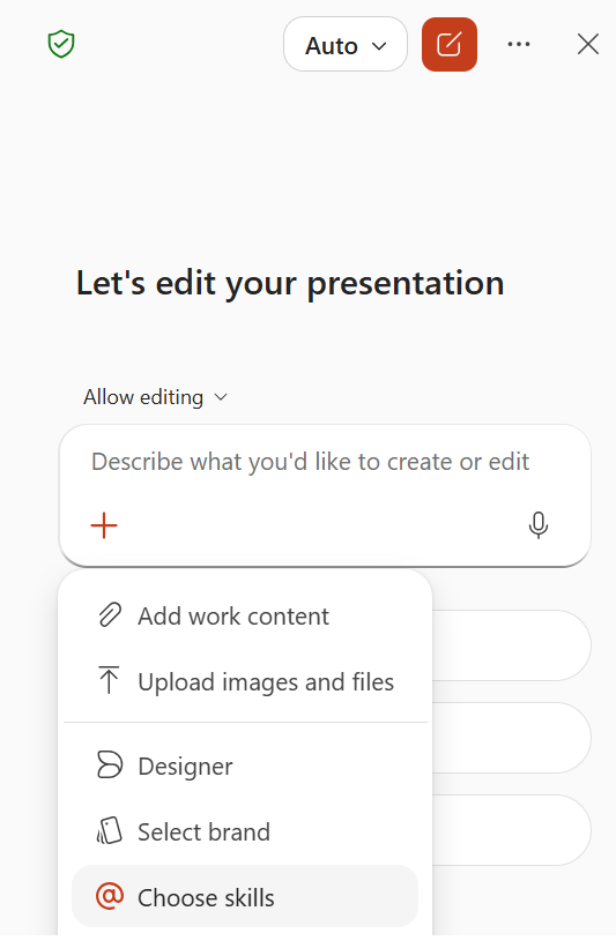
Find the custom skill shared by your organization in the skills list. The skill is visible only to users included in the deployment.
Package a custom skill for deployment
A custom skill ready to be deployed must be packaged as a .zip file that includes the skill files, an app manifest, and icons. The Microsoft 365 admin center validates the package when you upload it.
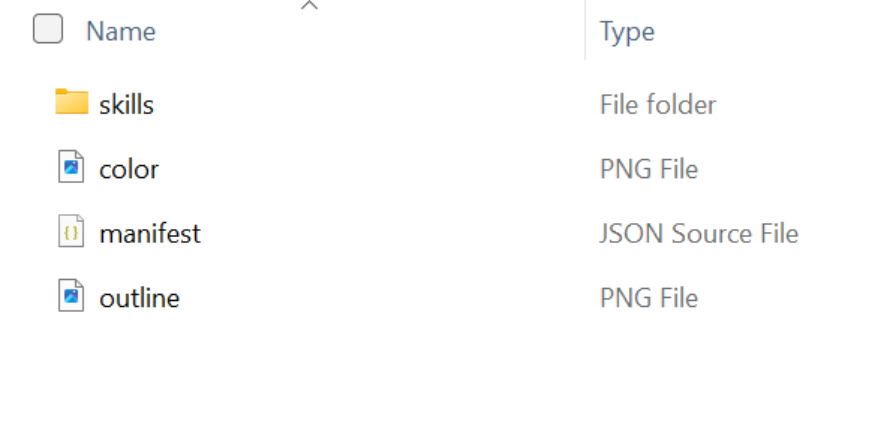
Before you upload the package, verify that it uses the following structure.
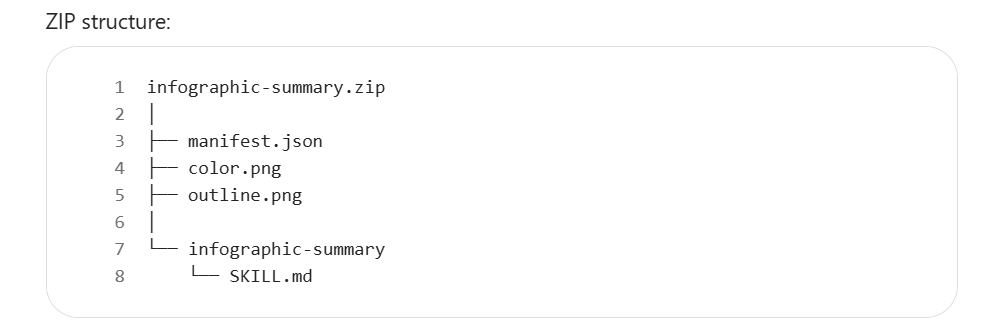
The manifest.json file describes the package to the Microsoft 365 admin center. For the latest manifest schema guidance, see Microsoft 365 app manifest schema reference.
Use a unique GUID for the id property, provide concise names and descriptions, and make sure the paths match the files in the package. The following example shows a basic manifest.
{
  "$schema": "https://developer.microsoft.com/json-schemas/teams/v1.28/MicrosoftTeams.schema.json",
  "manifestVersion": "1.28",
  "version": "1.0.0",
  "id": "xxxxxxxx-xxxx-xxxx-xxxx-xxxxxxxxxxxx",
  "developer": {
    "name": "Rolly Seth",
    "websiteUrl": "https://localhost",
    "privacyUrl": "https://localhost/privacy",
    "termsOfUseUrl": "https://localhost/terms"
  },
  "name": {
    "short": "Infographic Summary",
    "full": "Presentation Infographic Summary"
  },
  "description": {
    "short": "Creates an infographic overview of a presentation.",
    "full": "Reads a presentation and generates an editorial-style infographic summary."
  },
  "icons": {
    "color": "color.png",
    "outline": "outline.png"
  },
  "accentColor": "#2E86DE",
  "agentSkills": [
    {
      "path": "./skills/infographic-summary"
    }
  ]
}
Include both icon files referenced by manifest.json: color.png, a full-color 192x192 PNG icon, and outline.png, a monochrome outline 32x32 PNG icon. The icons identify the skill in the Microsoft 365 admin center.
You can also use the Agent 365 CLI to prepare and publish a package, or to retrieve values required by the manifest, such as the agent blueprint ID. For more information, see Publish Agent to Microsoft Admin Center and Agent 365 CLI setup command reference.
Related articles
- Use custom skills with Copilot in PowerPoint
- Edit with Copilot in PowerPoint
- Manage plugins for Copilot Cowork
- Publish Agent to Microsoft Admin Center
- Microsoft 365 app manifest schema reference
- Set up agent blueprint
- Agent Registry in Microsoft 365 admin center
- Agent overview in Microsoft 365 admin center